Hydraulic system leaks waste fluid, harm the environment, reduce efficiency, and can lead to safety incidents. Hose fittings are among the most common leak points. Identifying the root cause and troubleshooting quickly is essential for maintenance technicians. This article lists 7 major causes of hydraulic hose fitting leaks and provides on-site quick-check methods.
1. Incorrect Thread Connection
Cause: Mixing metric, BSP, or NPT threads; mismatched specifications (e.g., M22×1.5 vs G7/8″); damaged or stripped threads.
Troubleshooting: Use a thread gauge to measure OD, pitch/TPI, and thread angle (55° or 60°). Inspect threads for burrs or deformation. Try a known good fitting – it should not wobble or bind.
Fix: Replace with correct fitting; repair threads or replace damaged component.
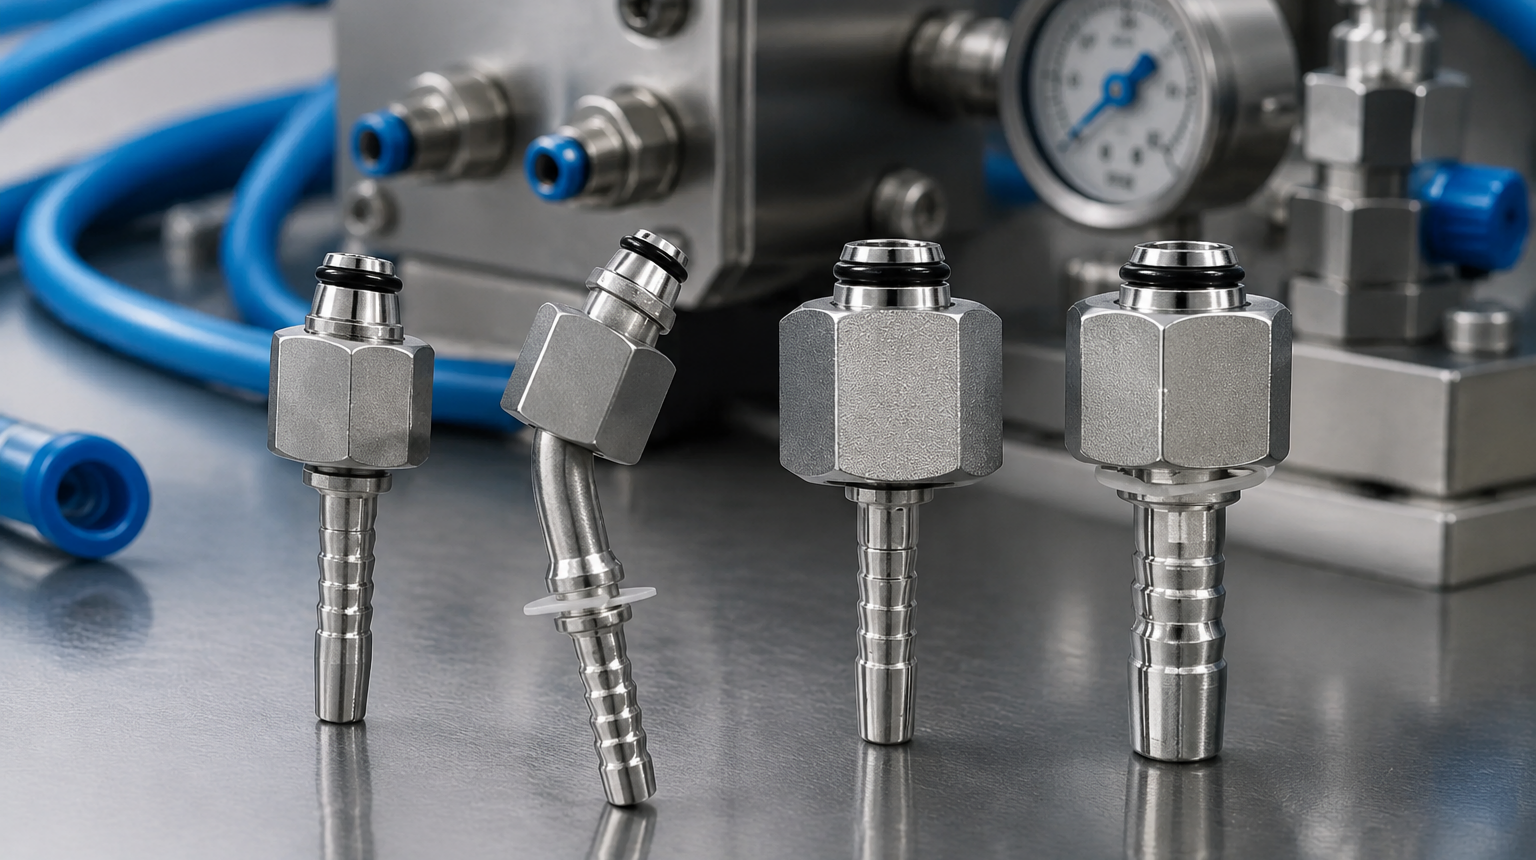
2. Damaged or Contaminated Sealing Surface
Cause: Scratches, dents, or rust on cone faces (24°, 37°, 60°); pits or debris on O-ring faces; cracks on flare surfaces.
Troubleshooting: Visually inspect under good light; run a fingernail across the surface. Apply marking compound (red lead or Prussian blue) to check contact pattern.
Fix: Minor scratches can be polished with fine sandpaper or a stone; severe damage requires replacement. Clean surfaces thoroughly.
3. Seal Ring Aging or Material Mismatch
Cause: O-rings, bonded washers, or cutting rings hardened, swollen, or cracked due to high temperature or chemical attack; incompatible material (e.g., NBR with phosphate ester).
Troubleshooting: Remove seal and check for cracks, stickiness, hardness changes, or dimensional swelling. Verify operating temperature and fluid type against compatibility charts.
Fix: Replace with identical size and material; upgrade to FKM, EPDM, or other compatible material as needed.
4. Poor Crimping (Hose Assembly)
Cause: Incorrect crimp reduction (too much or too little); wrong skive length; mismatched ferrule/stem; worn crimping dies.
Troubleshooting: Check for relative rotation or axial movement between ferrule and hose. Measure crimped OD against specification. Cut failed assembly to observe wire indentation or cover wrinkling.
Fix: Remake assembly with correct crimping parameters; use calibrated crimper and proper dies.
5. Incorrect Torque (Over or Under)
Cause: Under-torque leaves sealing faces loose; over-torque stretches threads, extrudes seals, or cracks the fitting.
Troubleshooting: Use a torque wrench to measure current nut torque (compare to recommended value). Inspect fitting body for cracks and threads for discoloration (over-torque sign).
Fix: Re-torque to specification using a torque wrench; replace damaged fittings.
6. Vibration and Pipe Stress
Cause: Hose too long or too short, bend radius too tight; lack of clamps/supports causing bending or pulling at fittings; high-frequency vibration loosening threads.
Troubleshooting: Observe hose movement during operation. Check for interference, twisting, or tension. Look for witness line movement between nut and fitting.
Fix: Adjust hose length; add clamps or supports; switch to more vibration-resistant designs (24° cone or ORFS); use locking devices (locknuts, spring washers).
7. Installation Errors and Poor Tube/Hose End Preparation
Cause: Steel tube cut not square, burrs not removed; hose cut unevenly with inner rubber steps; stem not fully inserted.
Troubleshooting: Disconnect and inspect tube/hose end – tube face should be square and burr-free; hose bore should be smooth, no inner rubber peeling. Mark insertion depth.
Fix: Re-cut tube/hose end properly, deburr thoroughly; re-assemble ensuring full stem insertion.
Quick 7-Step On-Site Troubleshooting
Visual inspection – Locate exact leak point (threads, sealing face, crimp area).
Wipe & re-pressurize – Dry the area, then apply pressure and watch where oil appears.
Torque check – Use a torque wrench to gently test nut tightness (do not over-crank).
Witness marking – Draw a line across nut/fitting and ferrule/hose; after operation, check for misalignment.
Feel & smell – Check for abnormal temperature (hand back) or unusual odors (acid, burnt rubber).
Substitution test – If a fitting is suspected, replace with a known good one (or new assembly) for comparison.
Record & track – Note leak type (seep, drip, stream) and occurrence (cold start, hot, under load).
Summary
Hydraulic fitting leaks rarely have a single cause. Systematically check threads, sealing surfaces, crimp quality, torque, vibration, and installation. Use the 7-step method to quickly pinpoint issues and reduce downtime. Establish regular inspection routines and keep torque wrenches and thread gauges in your daily toolkit.
